 |
DIY Mini Studio Recording Booth |
 Start off with a box at least 16x20 inches.
I used bubble wrap to line the inside of the adjustable height mini studio recording booth.
3M spray adhesive is used to affix the bubble wrap to the inside of the mini studio.
Tape the box up so that it looks like this. Tape all flaps together as well.
This is the inside with all of the bubble wrap completed.
You will need two 1x2 inch pieces of wood cut to 6 inches in length.
You will need two 1x2 inch pieces of wood cut to 20 inches in length. These are for the adjustable wall mounts.
Drill a hole at the top middle and bottom. These are the height adjustment holes.
Glue the 6 inch pieces at the top on both sides of the box. The holes should be at the top.
When finished it should look like this.
 Now use 2 bolts and put them thru the height adjustment brackets and the middle holes on the wall mounting brackets.
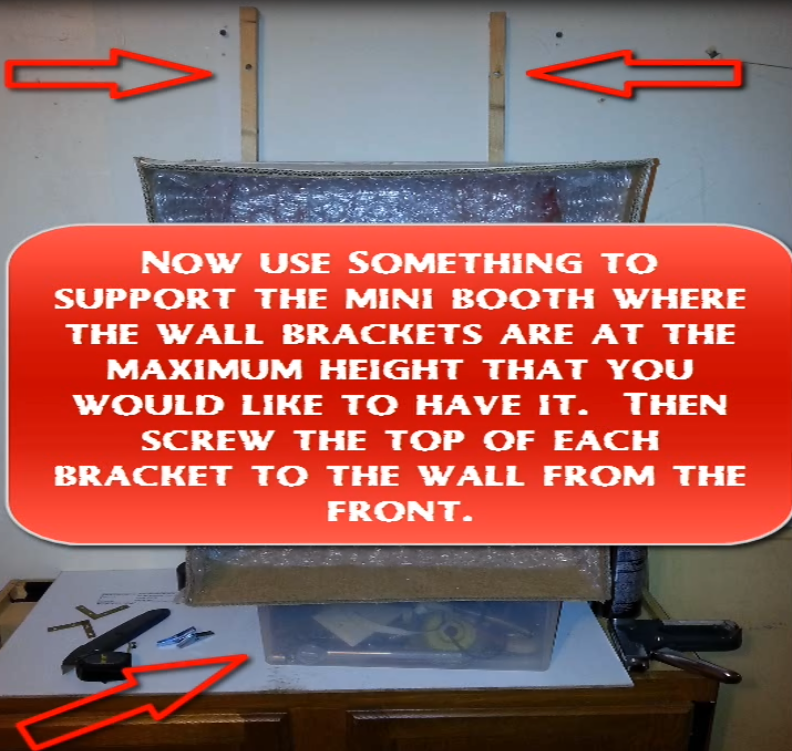
 Now use something to support the mini studio recording booth where the
wall brackets are at the maximum height that you would like to have it. Then screw the top of each bracket to the wall from the front.
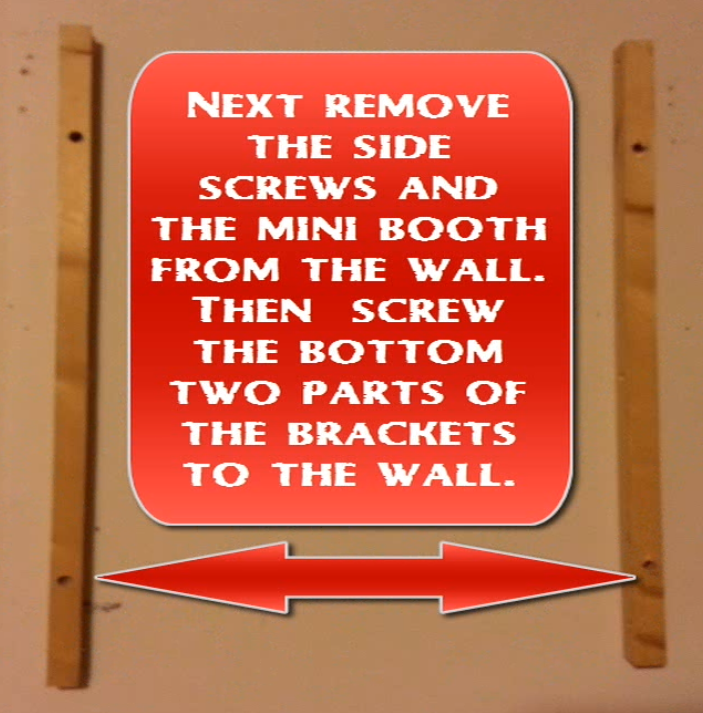
 Next remove the side screws and the mini studio recording booth from the
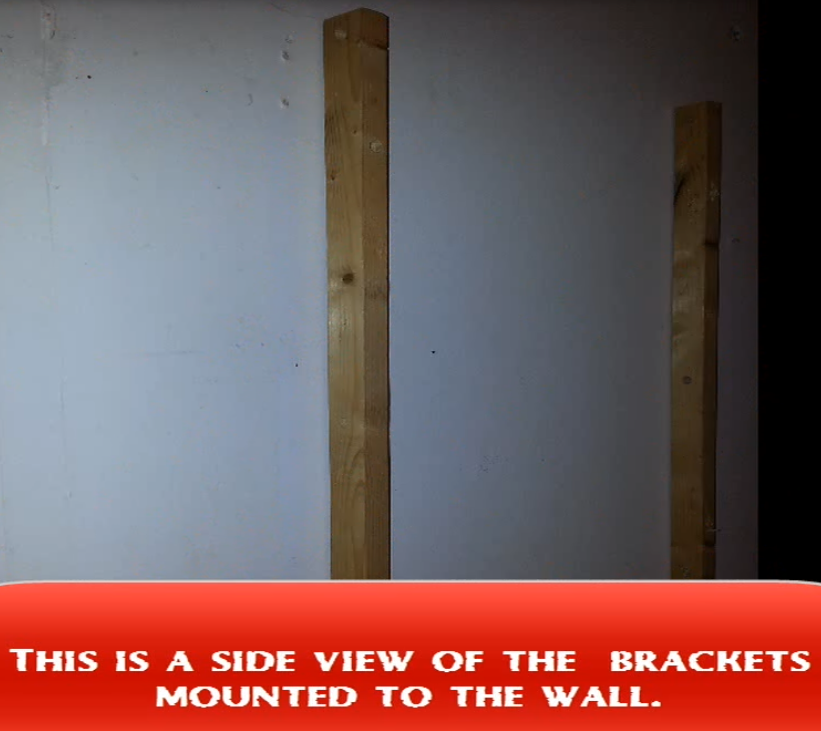
wall. Then screw the bottom two parts of the brackets to the wall.
Next remove the side screws and the mini studio recording booth from the
wall. Then screw the bottom two parts of the brackets to the wall.You can now line up the top holes on the brackets and insert the bolts through both brackets on each side.
Your adjustable mini studio recording booth can now be set to 3 different heights.
1. Standing height
2. Stool height
3. Desk height
Please see the video below on the DIY Mini Studio Recording Booth.
DIY Mini Studio Recording Booth
Mini Studio Recording Booth DIY Made Simple And Easy


